Your First Flow
As outlined in the installation guide, the recommended way to use the Utilihive SDK is to start with the example project that already has several flows built and ready to test.
Reviewing the Example Project
Open the example project in IntelliJ and note the folder structure, which will look like the following:
src/
  main/
    kotlin/
      flowexamples/
        common/
        deployment/
        e01/
        e02/
        e03/
  test/
    kotlin/
      flowexamples/
        e01/
        e02/
        e03/
Each e* directory under main contains a sample flow that has a corresponding functional test in the test directory.
Open the first example file located at main/kotlin/flowexamples/e01/E01SimpleRestFlow.kt.
The file includes the following flow spec:
val simpleRestSpec = flowConfig {
    id = "simple-rest"
    description = "Simple REST Flow"
    ownerId = OWNER_ID
    exchangePattern = RequestResponse

    restApi {
        id = "echo-api"
        apiSpecId = simpleRestResourceKey.toResourceIdentifier()
    }

    map {
        id = "echo-response-creator"
        mapSpec = """
            {
                "message" : #input.payload.value
            }
        """.trimIndent()
    }
}
You can learn more about how flow specs are written by consulting the Writing Flow Specs documentation. For now, all you need to know is that this flow exposes a REST endpoint that formats a response for the requesting client.
Running a Test
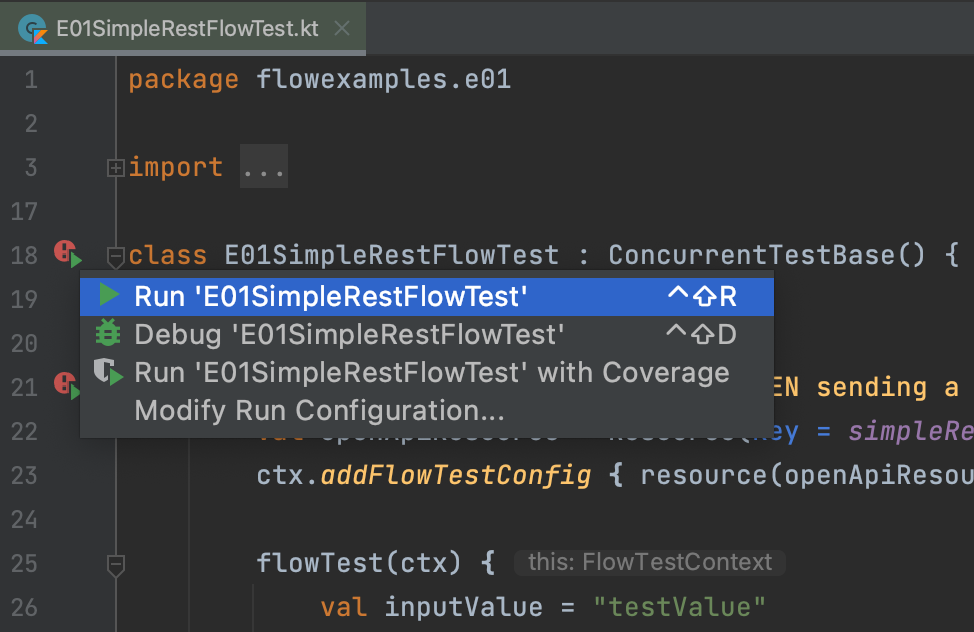
Open the first test located at test/kotlin/flowexamples/e01/E01SimpleRestFlowTest.kt. The E01SimpleRestFlowTest class includes the following annotated @Test function:
@Test
fun `E01 GIVEN deployed echo flow WHEN sending a value THEN the value is echoed back`(ctx: ConcurrentTestContext) {
    ...
}
The function names are self-descriptive to explain the purpose of the test. Here, the test will temporarily deploy a flow to the test server, then make a POST request to the flow’s endpoint and assert that the response includes the same value that was sent in the request.
Select the green play button next to the class name to run the test. The following image demonstrates what this looks like:
After you select Run, IntelliJ’s built-in terminal will appear and start printing the following information:
10:00:05.759 [INFO] FlowServerManager - Starting Utilihive flow-server..
10:00:10.809 [INFO] FlowServerManager - 5s
10:00:15.828 [INFO] FlowServerManager - 10s
This is the result of the SDK starting the test server for the first time, which can take up to a minute.
| Windows users will see a few extra pop-ups at this point. Refer to the Notice for Windows Users for more information on what to do with these. |
Once the server is started, the test will deploy the flow, run the assertion, and then remove the flow. A successful test will print the following in the IntelliJ terminal:
+++++++++++++++++++++++++++[ ConcurrentTestSummary ]+++++++++++++++++++++++++++
|
| Tests run: 1, failures: 0
|
+++++++++++++++++++++++++[ End ConcurrentTestSummary ]+++++++++++++++++++++++++
You can also run all tests in a project using the mvn test command from the IntelliJ terminal.
If you don’t have a separate installation of Maven, pressing Command + Enter on macOS or Ctrl + Enter on other OSs will use IntelliJ’s embedded version of Maven.
|
You’re now set up to begin developing flows with the Utilihive SDK! From here, it’s recommended that you walk through the example tutorials starting with simple REST endpoints that will further explain the flow you just tested.
Notice for Windows Users
On Windows, you will see one or two security alerts when running a flow test for the first time. These alerts look like the following image:
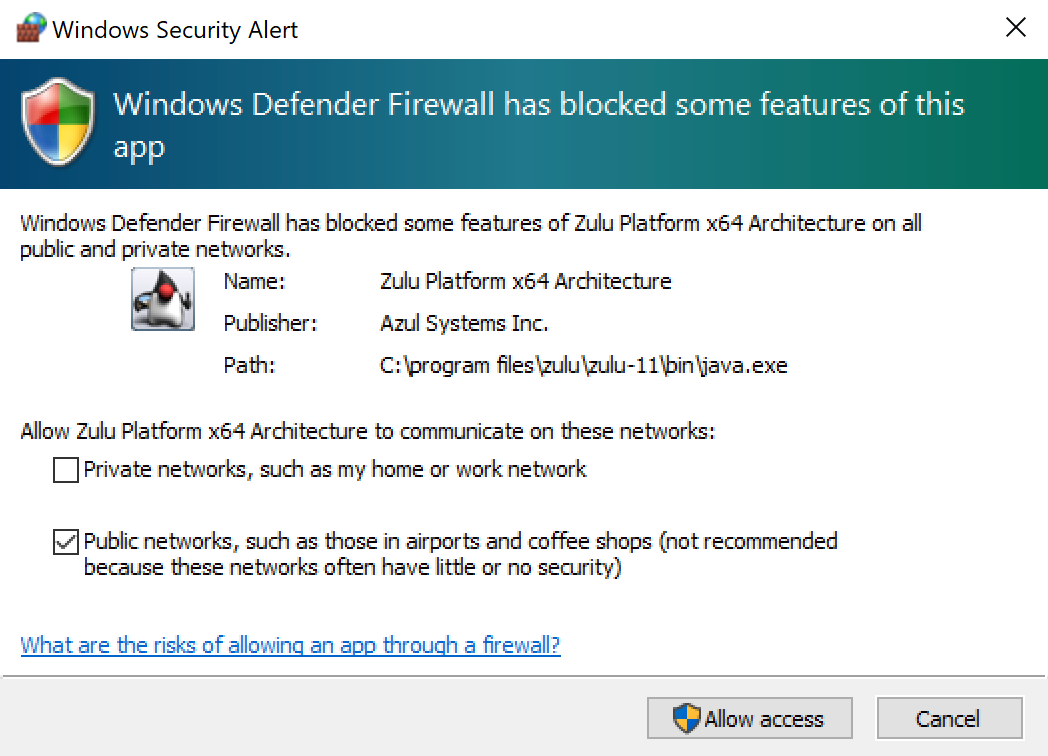
For best results, select "Allow access" to allow incoming connections to the Java processes. Otherwise, you might run into issues with some of the flows that you want to test.
Another thing to note with Windows is that the flow server runs in a separate command line window that looks like the following image:
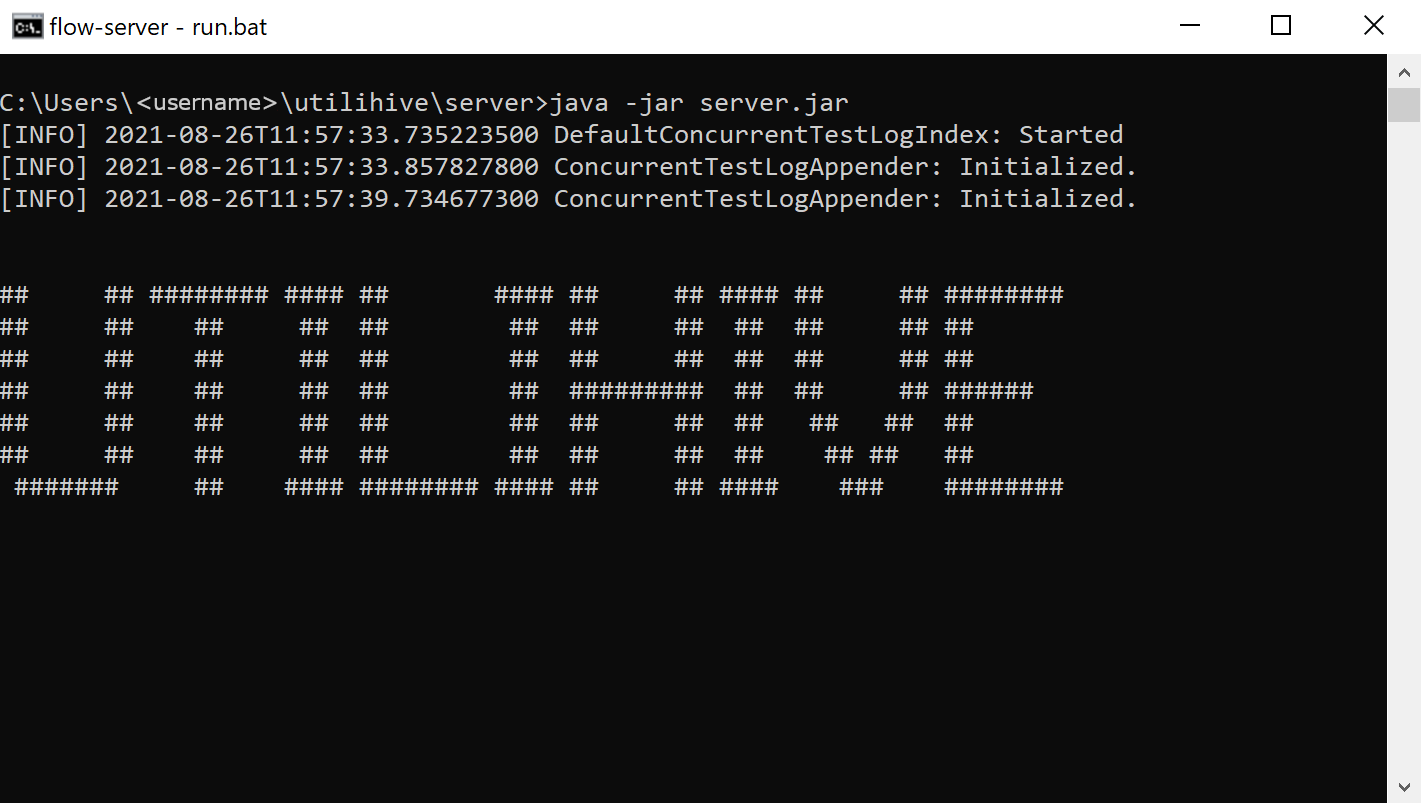
Closing this window will shut down the test server. If you close the window before the server has finished starting, any unit tests that were waiting for it to start will continue to wait indefinitely and need to be manually stopped in IntelliJ.